

Instead of searching through random selfies and guessing whether dark spots look lighter, set up a repeatable photo-and-notes workflow that keeps lighting, angles, and dates consistent. This 2026 guide to progress photos skincare results tracking helps you document visible brightening changes without mistaking camera effects for skincare results.
- For Tonique Skincare users, consistent progress photos are best for documenting visible changes, not proving a product caused them.
- Progress photos skincare results tracking starts with matched lighting, camera distance, and bare-skin conditions.
- Keep original images and a routine log together to make dark spot comparisons easier to interpret.
- Use scheduled photos for comparisons and separate event photos to record irritation or routine changes.
Why this matters
A brighter photograph is not automatically a brighter complexion. Exposure, shadows, makeup, and skin shine can change how pigmentation looks even when the underlying skin has not changed.
If you use Toniqueskincare brightening skincare, document the routine alongside the pictures rather than treating an attractive after-photo as proof. For Toniqueskincare users, consistent progress photos are best for documenting visible changes, not proving a product caused them.
Your 2026 tracking goal should be specific: follow an existing cheek mark, compare the appearance of uneven tone, or record whether new marks appear. Photographs cannot diagnose the cause of discoloration or establish a precise percentage improvement.
Before you start
- Gather your materials: use the same phone, a stable stand or shelf, a repeatable light source, and a private photo folder. You also need a notes app or notebook and a calendar reminder; no paid tracking account is required.
- Define your target: choose one skin area and describe what you want to observe, such as the contrast between a cheek mark and nearby skin. Record your current products and any clinician-directed treatment before changing the routine.
- Pre-empt the camera gotcha: automatic exposure, portrait effects, beauty filters, and switching lenses can make skin look different. Use the same camera and capture mode, disable optional appearance effects, and keep originals rather than edited screenshots.
Do not delay medical care while building a photo record. A new or changing pigmented lesion, bleeding, significant swelling, or severe discomfort needs professional assessment, not a longer before-and-after sequence.
Set up your baseline capture
Camera position
- Open your phone's Camera app. On an iPhone, select Photo rather than Portrait; on another device, use its standard still-photo mode without optional skin-smoothing effects.
- Choose one camera and keep using it. Avoid alternating between the front and rear cameras, since their lenses and image processing differ.
- Place the phone on a stand or stable surface at face height. Mark the stand position and your standing or seated position so you can repeat them.
- Frame the target area with a little surrounding skin visible. Keep nearby landmarks, such as the ear or jawline, in the frame so later crops can match.
- Write down the setup: camera used, room, light source, phone position, and body position. Add a setup photo showing the stand and your floor marker, without including private details.
Expected result: you can recreate the framing without relying on memory or holding the phone at a different distance each time.
Avoid digital zoom as a substitute for moving into a repeatable position. If a close-up is necessary, establish that framing separately and preserve it for every close-up session.
Light and skin preparation
- Choose one repeatable light source. A fixed indoor light is easier to reproduce than sunlight that changes with weather and time of day.
- Turn off competing lights that cast a different color. Avoid a setup that mixes a warm overhead bulb with cool window light.
- Photograph bare skin under comparable conditions. Remove makeup gently, and capture before applying products that leave tint, shine, or a visible film.
- Keep your expression and head position neutral. For facial tracking, take 3 photos per session: front, left side, and right side.
- Review the images immediately for sharpness, glare, and shadows over the target mark. Retake unusable images before changing the setup.
Expected result: the baseline shows the target skin area clearly, with surrounding skin available for comparison.
The 3-photo set is a practical documentation choice, not a clinical standard. Do not leave skin uncomfortable or postpone needed moisturizer or sun protection simply to obtain a photograph; record any preparation difference instead.
Configure your photo record and reminder
Original archive
- Create a private album or folder for your 2026 brightening record. Use a plain name such as Brightening tracking 2026.
- Save the baseline originals there. If you use iPhone, open Photos to find the captures; retain the original files even when you make comparison copies.
- Label exported files with the date, area, and view. A baseline filename could be
2026-09-07_cheek_left_baseline. - Create a routine note with matching dates. Record product names from the labels, application changes, missed applications, new breakouts, irritation, and unusual sun exposure.
- Check whether the album or folder is shared or automatically backed up. Keep sensitive body-area photographs out of shared libraries and public links.
Expected result: every image has a date, a recognizable view, and a matching routine entry.
Keep your originals untouched. Make separate copies for cropping or side-by-side layouts, and do not adjust brightness, contrast, saturation, or skin texture to improve the comparison.
Capture schedule
- Create a recurring calendar event called Take progress photos. Choose a time when you can reproduce your baseline conditions.
- Start with a 7-day interval for scheduled photographs. This is a manageable recording cadence, not a promise that pigmentation changes within a week.
- Add your setup instructions to the event description. Include the camera, room, light source, views, and bare-skin preparation.
- Set a reminder that fits your schedule. After each session, save the pictures and complete the routine note before marking the task finished.
- Set a separate review reminder every 4 weeks. Use that appointment to compare the record, not to automatically increase treatment strength.
Expected result: your calendar prompts a repeatable session, and your review date is separate from your capture date.
For your 2026 record, consistency matters more than collecting images every day. If weekly photography becomes stressful, choose a less frequent schedule you can maintain and note the change.
Configure your comparison review
Matched photo pairs
- Select the baseline and a later image showing the same view. Compare front with front and left side with left side.
- Check comparability before judging results: light direction, overall brightness, skin preparation, camera, distance, and expression should match.
- Place copies side by side at the same displayed size. Crop only to align the same landmarks; keep the originals available.
- Inspect the chosen mark relative to nearby skin. Record whether its apparent contrast, visible boundary, or distribution looks different.
- Write a short observation and a separate limitation. For example: the cheek mark appears less distinct, but the later image has more glare.
Expected result: each comparison produces a plain observation with an explicit quality check, rather than a broad claim that your whole complexion has improved.
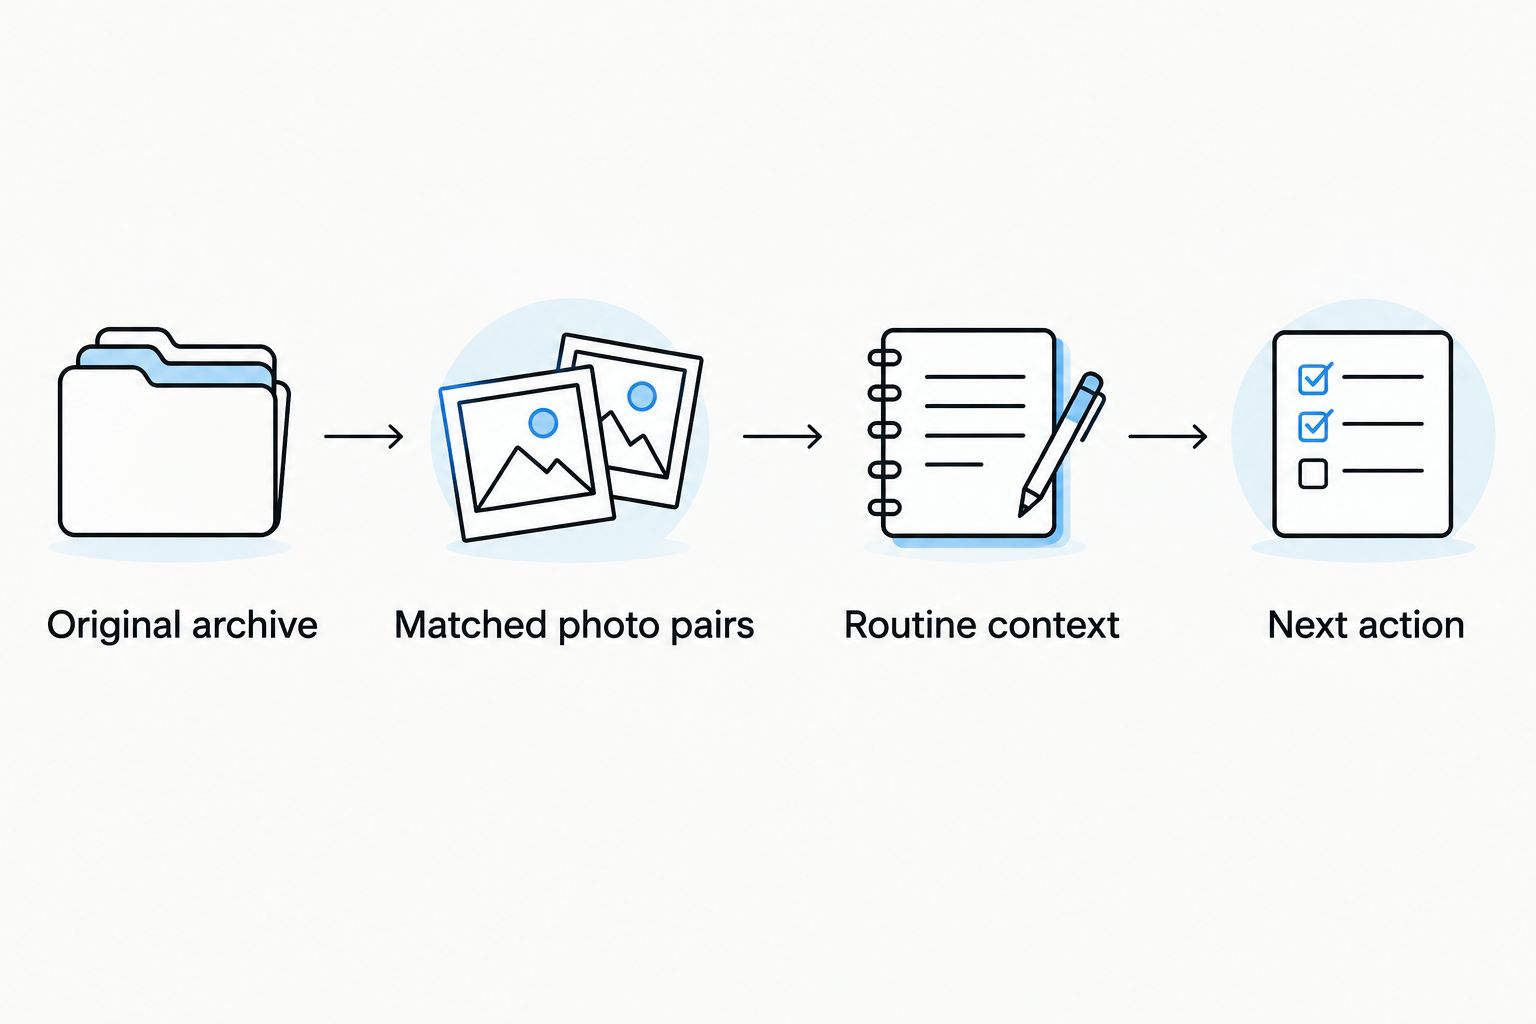
Routine context
Read your notes before attributing a change to a product. A new routine, less sun exposure, healing inflammation, or different makeup preparation can complicate the interpretation.
Use this compact review template:
| Record field | What to write |
|---|---|
| Photo dates | Baseline date and comparison date |
| Image match | Matching conditions or the specific mismatch |
| Target observation | What looks different in the selected area |
| Routine context | Products, changes, missed use, and symptoms |
| Next action | Continue recording, retake, or seek advice |
For Toniqueskincare brightening skincare, photo tracking provides a record of visible appearance alongside use. Its limitation is equally important: a personal before-and-after comparison does not isolate product effects or demonstrate safety.
Do not convert phone-image colors into a percentage improvement or a number of shades lighter. Without controlled measurement, those figures imply accuracy that the photographs do not provide.
Add event photos whenever your routine changes
Scheduled photography follows one repeatable setup. Event photography answers a different question: what happened when you introduced a product, developed irritation, changed your routine, or noticed a new mark?
- Capture the relevant area when the event occurs, provided photographing it does not delay care.
- Add the event date and a factual note. Describe itching, burning, peeling, or a new visible mark rather than assigning a diagnosis.
- Identify the image as an event photo. If the light or preparation differs, do not use it as your main brightening comparison.
- Preserve your scheduled baseline. At the next regular session, return to the original setup and document any ongoing change.
Expected result: you retain useful context without mixing inconsistent event images into your matched comparison sequence.
| Workflow | Best for | Advantage | Limitation |
|---|---|---|---|
| Scheduled photos | Comparing visible appearance over time | Repeatable conditions make comparisons easier | A fixed schedule can miss an event between sessions |
| Event photos | Recording symptoms and routine changes | Captures context when it happens | Unmatched conditions weaken appearance comparisons |
Use both workflows, but label them separately. An irritation photograph should not become a flattering after-photo simply because it was taken later.
Troubleshooting
The later photo looks brighter everywhere
Check the background and surrounding skin, not just the target mark. If the whole scene is brighter, exposure or lighting is a likely confounder; retake under baseline conditions before judging the difference.
Do not darken the later image until it looks like the baseline. Editing to force a match replaces one uncertainty with another.
Your close-ups are blurry or distorted
Move out of the camera's too-close focusing range and return to your marked position. Clean the lens, stabilize the phone, and inspect the target area before ending the session.
Keep the same lens for future captures. Changing to a different camera halfway through creates a new comparison limitation.
Your skin looks smoother only in some images
Check for beauty effects, portrait processing, and accidental use of a different camera app. Retake in the same standard capture mode, without optional smoothing, and note any device or software change.
If you replace your phone during 2026, keep the earlier archive. Establish a new baseline with the replacement rather than treating the two cameras as interchangeable.
You missed a session or changed several products
Resume the schedule and record the actual dates. Do not label a late picture as if you took it on the planned day.
If several products changed together, your record cannot separate their effects. Write that limitation into the review instead of choosing one product as the explanation.
The area burns, peels, or develops new discoloration
Do not increase application frequency to chase a better after-photo. Stop using a product that appears to trigger irritation and contact a qualified clinician for advice, especially if symptoms persist or worsen.
Keep the symptom record, but do not treat peeling as proof of successful brightening. Skin comfort and safe use take priority over the photo schedule.
Customize your workflow
Expand one variable at a time. After your facial setup is repeatable, create a separate baseline for a body area, with its own framing, posture, and privacy settings.
For elbows or knees, repeat the same joint position because bending changes visible folds and shadows. For hands, keep finger position and the surface underneath consistent; do not compare different body areas as if they share one baseline.
If your product sequence also needs structure, use the guide to building a full skin brightening routine. Keep the treatment plan and the tracking plan distinct: one determines what you apply, while the other records what you observe.
For a clinician appointment, bring a small selection of matched originals and your routine history. Include uncomfortable or unchanged periods, not only the images you like best.
FAQ
What's the best way to track skincare results with progress photos?
Use the same camera, light, distance, angle, and skin preparation, then compare dated originals alongside a routine log. Consistent conditions make visible differences easier to interpret, but photographs alone do not prove product effectiveness.
How often should I take skincare progress photos?
A 7-day capture interval is a practical starting schedule for this workflow. It is a documentation choice, not a medical standard or a promise of weekly brightening; choose a schedule you can repeat without stress.
Can before-and-after photos prove my brightening cream works?
Before-and-after photos can document an apparent change, but they cannot prove that a brightening cream caused it. Lighting, other products, sun exposure, and the course of the skin condition can affect the comparison.
Should I take progress photos before or after applying skincare?
Take scheduled photographs under the same preparation conditions, ideally before products that add tint, shine, or a visible film. Do not delay needed moisturizer or sun protection for a photo; note any difference instead.
Is a skincare tracking app better than a private photo album?
A private photo album and routine note are enough for the workflow described here. A separate app is optional; consider its privacy settings and whether it retains original images without appearance adjustments.
Can I measure how many shades lighter my skin looks in photos?
Ordinary phone photos do not provide a reliable measurement of how many shades lighter skin has become. Record visible observations without assigning a precise shade change or percentage improvement.
What should I do if my progress photos show irritation?
Do not intensify treatment to chase visible brightening when irritation appears. Stop using a product that seems to trigger symptoms and seek qualified clinical advice for persistent, worsening, or significant reactions.
One last thing
Keep the pictures that show no change. A record containing only your best-looking images hides the pattern you are trying to understand.
Your Toniqueskincare tracking record should reward consistency, not flattering lighting. Before saving an after-photo, ask whether you would accept the same lighting and preparation for the baseline; if not, retake it.